These tasks are designed to help you assess a child’s understanding of spatial topics. The protocol begins with relations like over, near, next to, and the like and progresses to a child’s understanding of symmetry.
Revised March 30, 2019.
The tasks in this protocol can help you answer questions about a child’s understanding of spatial relations. Here are three ideas that can be explored.
- Spatial language is used to describe simple and complex positions of objects.
- Maps and grids can be used to show the locations of objects.
- An object has symmetry if it can be folded so that its two halves exactly match.
The resource Math Thinking Conversations provides guidelines for how to use these kinds of tasks to explore a child’s mathematical understanding.
The tasks that follow have been organized according to the ideas listed above. For more assessment tasks that can be used in conjunction with, or in addition to, the tasks below, see Space Assessment Protocol: Additional Tasks (download below). Select video examples of assessment items are available in Space Assessment Videos.
Simple and Complex Positions
- Simple position Provide the child with objects such as blocks or bears. Arrange the objects and ask about their locations using simple positional words. For example: "What color is the bear next to the blue bear? Which block is on top of the yellow block?" Ask some yes/no questions about locations. For example: "Is the blue bear behind the red bear?" Ask the child to change the positions of the objects. "Put the bear under your chair.” Watch Betsy: Three Bears here.
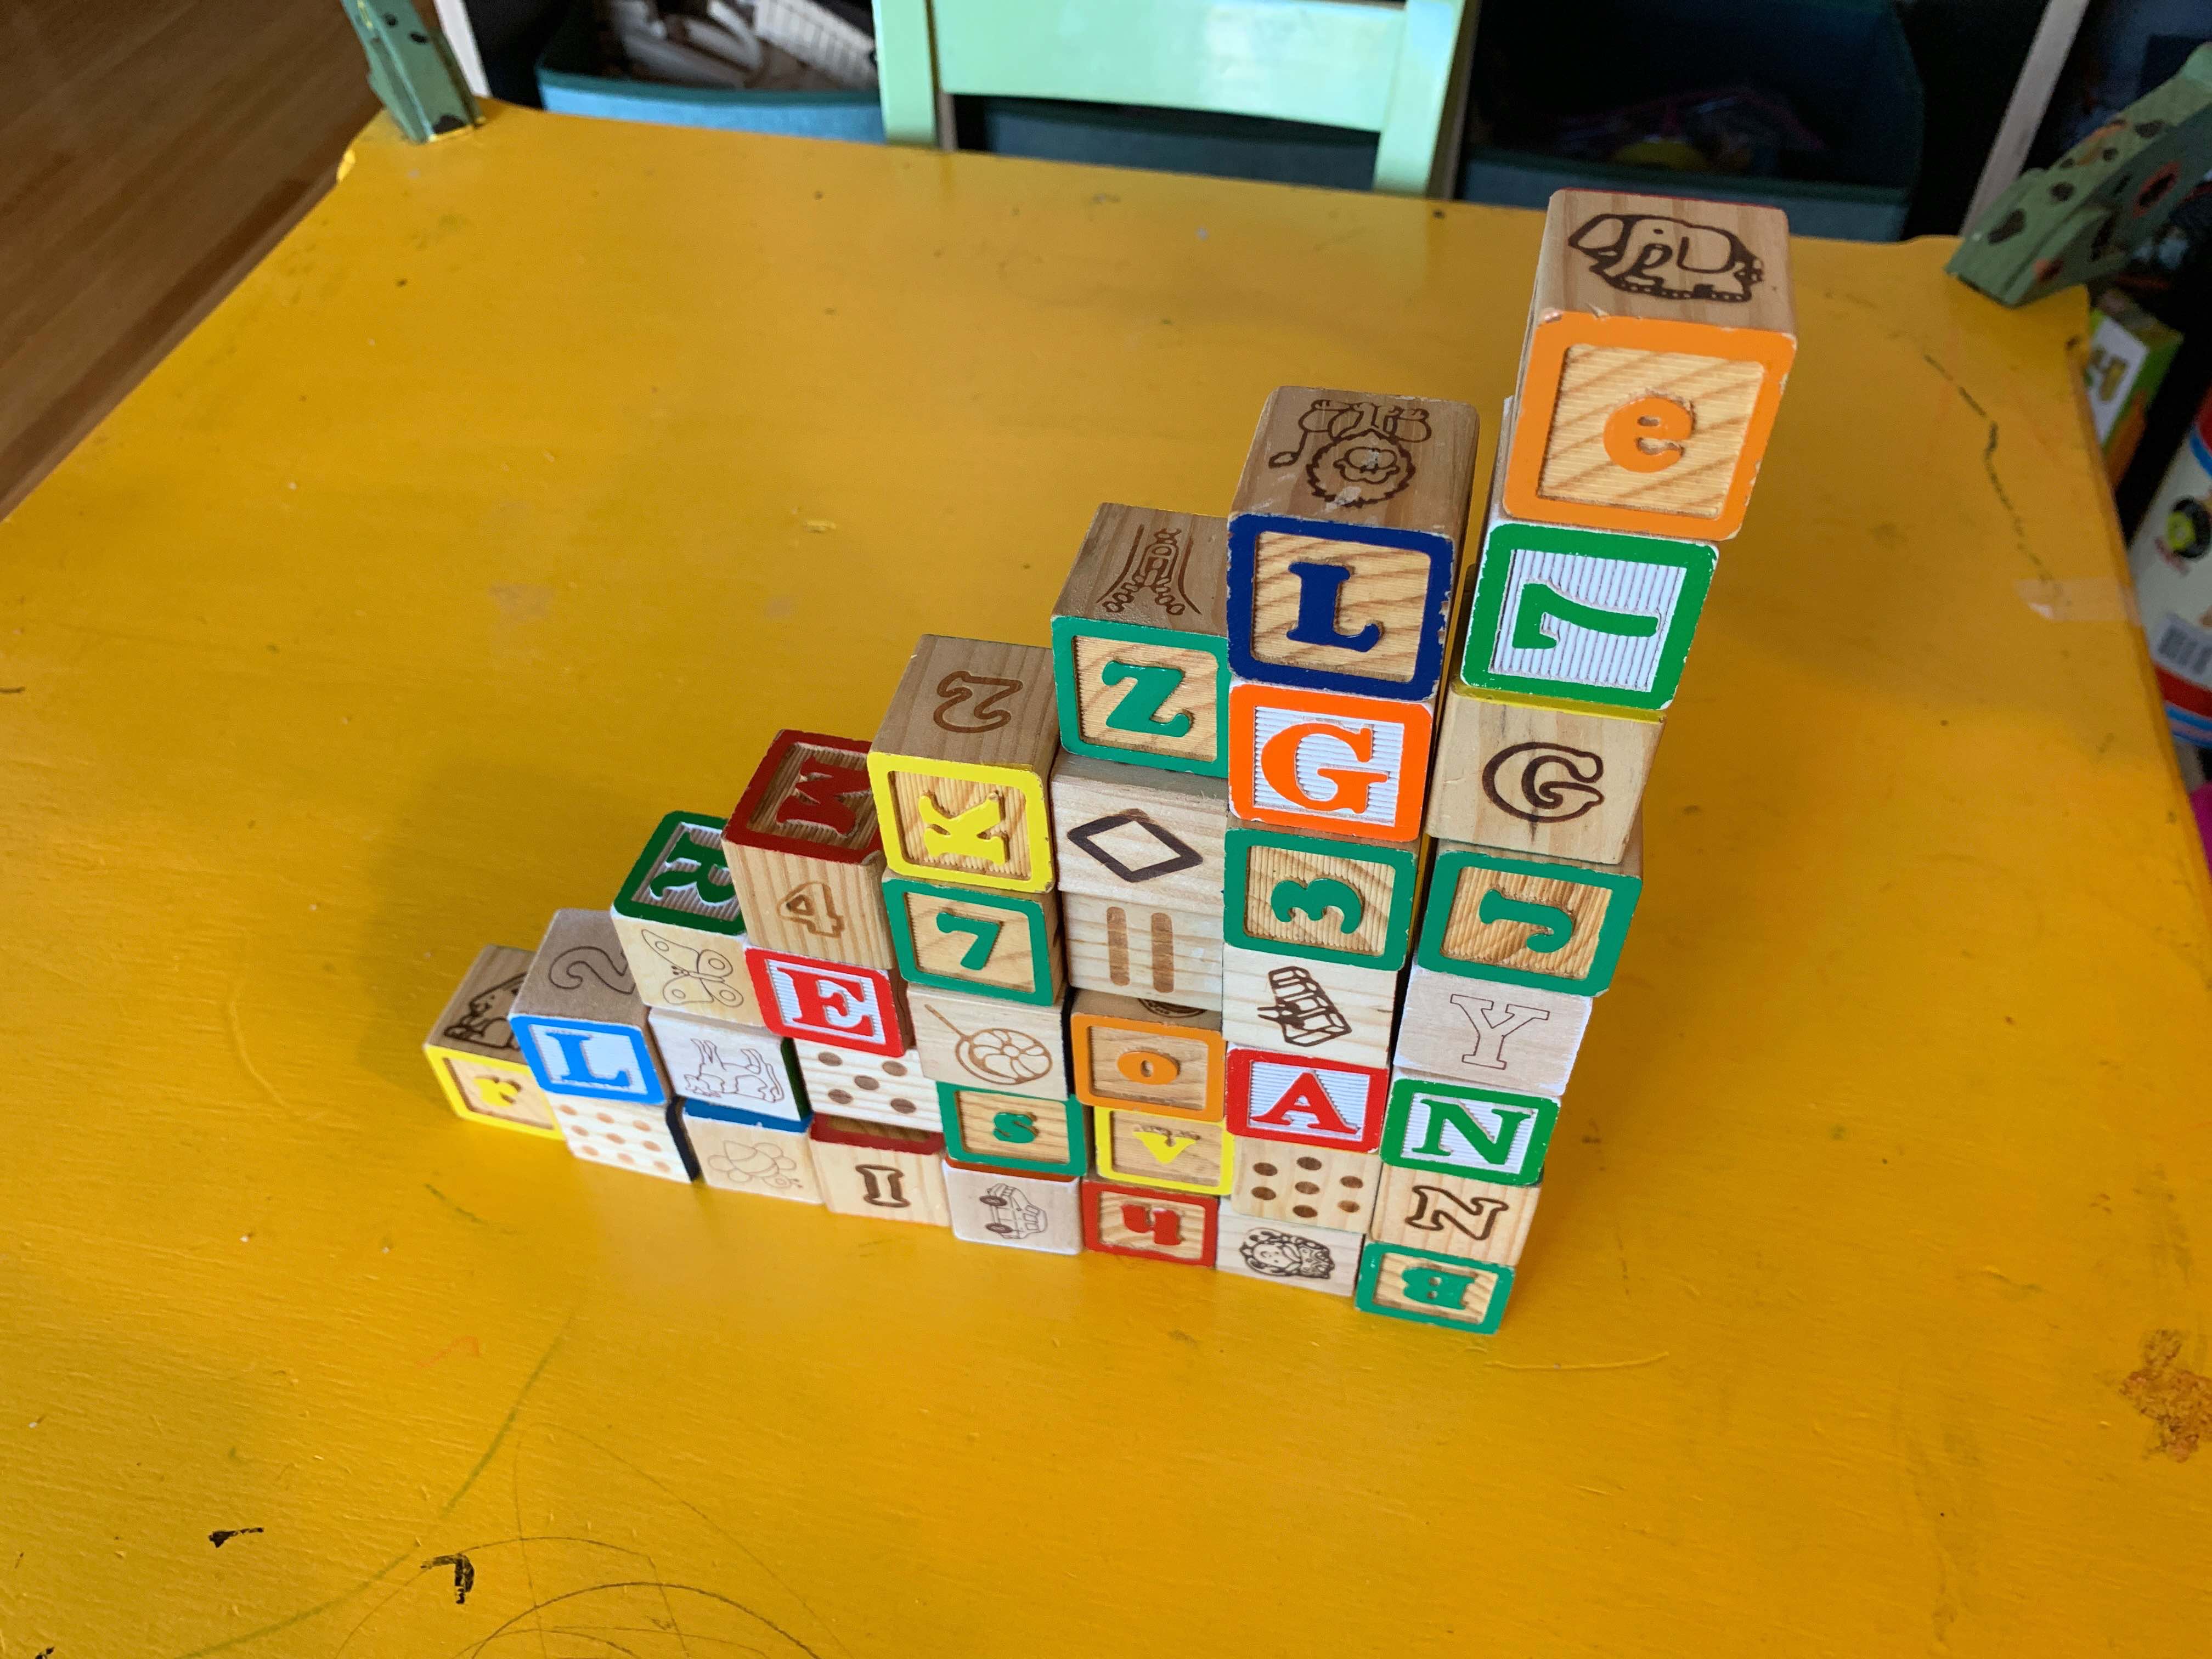
- Complex Position Ask the child about dual relations. For example, make a tower by placing a yellow block on top of a blue block and under a red block, and ask, "Tell me where the yellow block is." If the child says, “Under the red one,” say, "Yes! But I think it is on top of the blue block. Hmm…" In this way, depending on the answer, contradict the child, and see how she deals with the reality of the dual relations, that the yellow block is at the same time on top of one block and under another block.
Maps and Grids
- Map of the room Draw a simple map of the room you are in. Point to objects on the map and ask the child to find them in the room. Then reverse the process and ask the child to go to a place in the room (their choice), and then ask them where that location is on the map.
- Make a map Select a familiar room or place. Do a walk-around before mapping. Point out or have the child touch various landmarks.
- Provide paper, pencil or colored crayons or markers. You could also provide toys such as dolls or dollhouse furniture, or cut-out pictures of furniture. Draw a rectangle and explain that it is a “map” of the room you are in (or part of it).
- Ask the child to draw or place objects on the map. Ask them, "Why did you place this here instead of here?"
- Choose a salient object, such as a chair. Before drawing or placing the object on the map, ask the child to describe, in words, where you should put it. "In between the table and the window? Farther from the window than that?" Then do it and ask if it's in the right place. Watch Joaquim: Map Making here.
- Chips on a Grid Provide two six-by-six grids and some chips. Sit side by side. Say: (pointing to the grid near you) "This is my grid," and (pointing to the grid in front of the child) "This is your grid." Be sure the grids are aligned so the child can easily model what you do. On your grid, make a horizontal or vertical line using chips. Ask the child to do the same on his or her grid. Ask, "Is yours the same? How do you know?" Watch Sierra: Straight Line on a Grid here. Watch Ben: Straight Line on a Grid here.
- Do the same with a diagonal line. This is much harder for children this age. If the child draws a different line, ask, "Is yours the same? How do you know? How is mine different from yours?" Watch Sierra: Diagonal Line on a Grid here.
- Next, place one or more chips on your grid, not in a straight line. You can place one chip and let the child copy before placing the next chip. Have the child copy on his or her grid. Watch Ben: Arrangement of Chips here.
Symmetry
- Mirror images Use a pegboard or printed grid. Attach a rubber band or draw a thick line to show a line of symmetry. Arrange pegs or chips on one side and ask the child to mirror what you did (do the same, but opposite) on the other side. "Is yours the same? How do you know?" You can also use a mirror to show the child what the other side should look like. Have the child arrange pegs or chips on one side and say you will try to make the shape. Create an error. "Did I do the same? Why or why not? How could I fix it?"
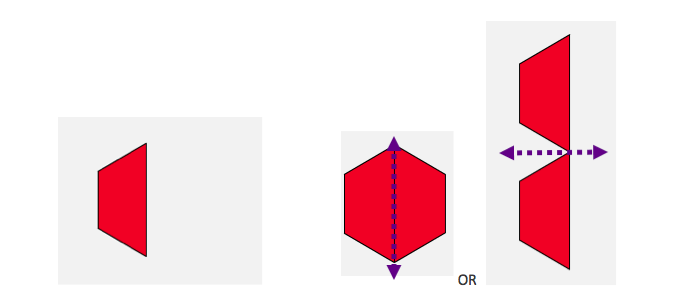
- Complete the symmetric figure Provide pattern blocks. Show the child an example of symmetric figures using pattern blocks. For example:

- Create one side of a simple figure and say the rest of the figure is the mirror image. Then ask the child to make the other side so the figure is symmetric. Provide various blocks, including some individual blocks and some combinations of blocks that could be used to create the symmetry, and some blocks that could not be used. Ask, "Why did you pick that block? How did you know how to do that?"

- Ask the child to make another symmetric figure by creating both halves.
Free applets for creating geometry sheets or planning your activities can be found here:
- This free applet, from NCTM Illuminations, will allow you to create and print many geometry pages.
- This free virtual manipulative allows you to play with and rotate pattern blocks.
- The National Library of Virtual Manipulatives has geometry manipulatives for grades K-2.


